
If you’re running an online store with WooCommerce, integrating FedEx is essential for offering reliable, real-time shipping rates and seamless order fulfillment.
But here’s the problem:
Most guides online are outdated. Since FedEx migrated from SOAP APIs to REST APIs in 2024, many plugins and tutorials no longer work properly.
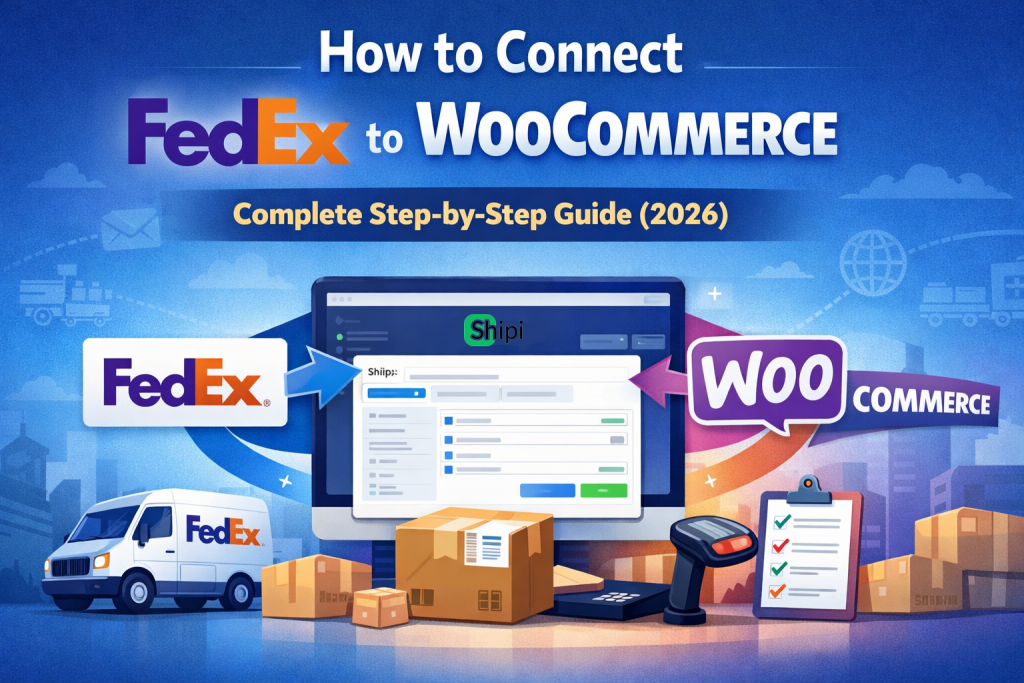
In this guide, you’ll learn the modern, 2026-ready way to connect FedEx to WooCommerce using Shipi – a fast, API-first shipping integration platform built for scalability.
Why Integrate FedEx with WooCommerce?
Connecting FedEx to WooCommerce enables:
- Real-time shipping rates at checkout
- Automated label generation
- Live tracking for customers
- Access to your negotiated FedEx rates
- International shipping with customs support
Without proper integration, you risk:
- Incorrect shipping charges
- Manual fulfillment delays
- Poor customer experience
What You Need Before You Start
Before integrating, make sure you have:
- A FedEx business account
- Access to the FedEx Developer Portal (REST API credentials)
- A WooCommerce store (WordPress installed)
- A Shipi account
Why Use Shipi Instead of Traditional Plugins?
Many WooCommerce FedEx plugins still rely on outdated SOAP APIs or lack flexibility.
Shipi is different:
- ✅ Supports latest FedEx REST APIs (2024+)
- ✅ Uses your own FedEx negotiated rates
- ✅ Multi-carrier support (not locked to FedEx)
- ✅ Faster performance with API-first architecture
- ✅ Built for scaling stores and logistics automation
Step-by-Step: Connect FedEx to WooCommerce
Step 1: Create a Shipi Account
Sign up at Shipi and log in to your dashboard.
Step 2: Add FedEx Carrier
Inside Shipi:
- Go to Carriers
- Select FedEx
- Enter your credentials:
- API Key
- API Secret
- Account Number
- Meter Number (if required)
👉 Follow the official setup guide here:
https://resources.myshipi.com/carriers/how-to-configure-fedex-in-shipi/
Step 3: Connect WooCommerce Store
- Navigate to Integrations
- Select WooCommerce
- Enter:
- Store URL
- Consumer Key
- Consumer Secret
Shipi will securely connect to your store.
Step 4: Enable Shipping Rates
- Map FedEx services (e.g., Priority, Economy)
- Configure shipping rules
- Enable real-time rate fetching
Step 5: Test the Integration
- Add a product to cart
- Go to checkout
- Verify FedEx rates are displayed
Step 6: Start Shipping
Once live, you can:
- Generate shipping labels instantly
- Track shipments in real-time
- Automate order fulfillment
Common Issues (And How to Fix Them)
1. FedEx Rates Not Showing
- Check API credentials
- Ensure REST API access is enabled
- Verify shipping origin address
2. Wrong Shipping Prices
- Confirm account has negotiated rates
- Check package dimensions & weight
3. API Errors
- Ensure you’re using REST API credentials, not legacy SOAP
- Regenerate API keys if needed
FedEx REST API vs SOAP API (Important Update)
| Feature | SOAP API (Old) | REST API (New) |
|---|---|---|
| Status | Deprecated | Active |
| Speed | Slower | Faster |
| Integration | Complex | Developer-friendly |
| Future Support | ❌ No | ✅ Yes |
👉 If your plugin still uses SOAP, it’s time to switch.
Why This Guide Matters in 2026
Most competitors (like PluginHive) still rank with partially outdated integration methods.
By using Shipi:
- You future-proof your shipping stack
- Avoid API deprecation issues
- Gain better performance and reliability
Final Thoughts
Integrating FedEx with WooCommerce doesn’t have to be complicated — but using outdated tools will cost you time and money.
With Shipi, you get a modern, scalable solution built for the new FedEx REST API ecosystem.
🚀 Ready to Get Started?
Set up your FedEx integration today using Shipi and start delivering faster, smarter, and more reliably.