
Installation & Setup Guide
🔧 1. Install the Shipi Plugin
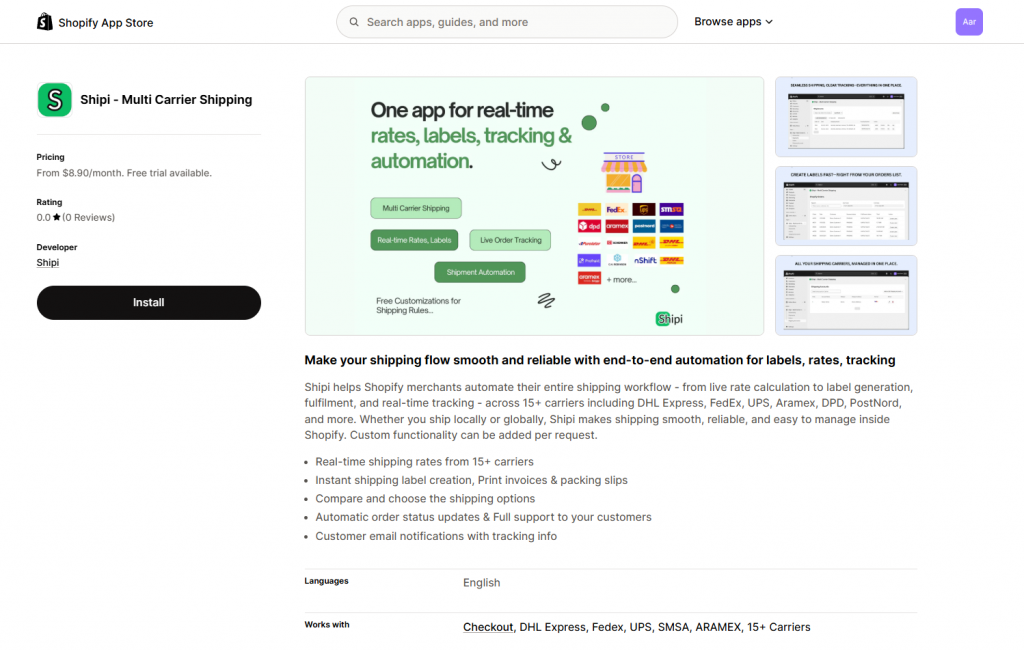
- Go to Shopify Dashboard > Apps .
- Search for
Shipi. - Click Search “Shipi” in the Shopify App Store and select “Shipi – Multi Carrier Shipping,” then click Install. You can also access it directly here: https://apps.shopify.com/shipi-multi-carrier-shipping.
- You’ll see “Shipi – Multi Carrier Shipping“ under your Apps menu.
🔐 2. Connect or Create a Shipi Account
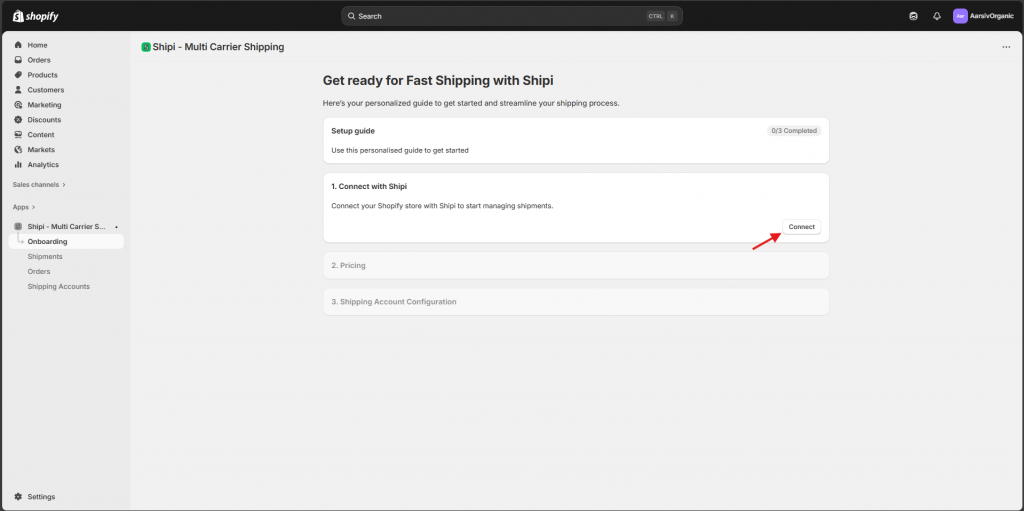
- Navigate to Apps > Shipi – Multi Carrier Shipping.
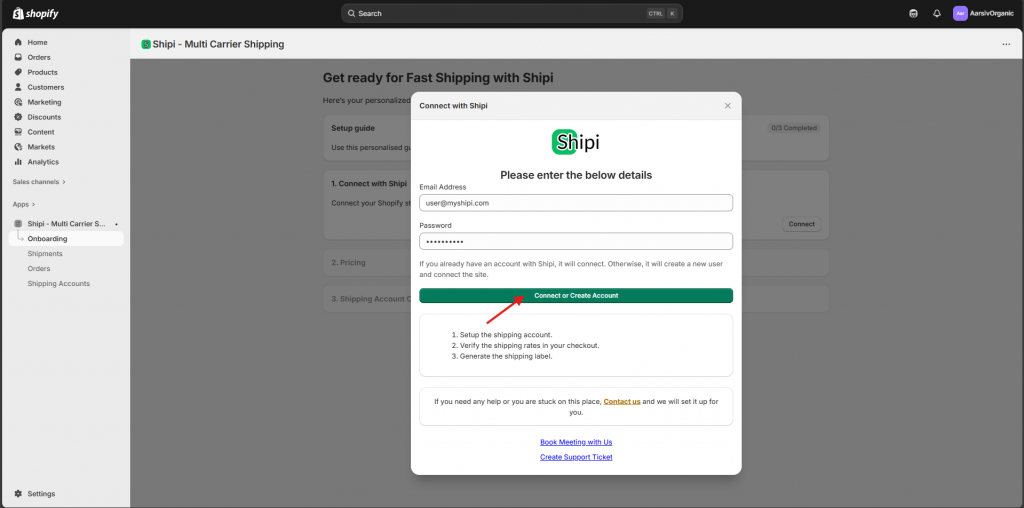
- You will be redirected to the onboarding page. Click “Connect,” and a login screen will appear.
- If you already have a Shipi account, enter credentials and click Connect or Create Account.
- If not, enter your details and a new account will be created automatically.
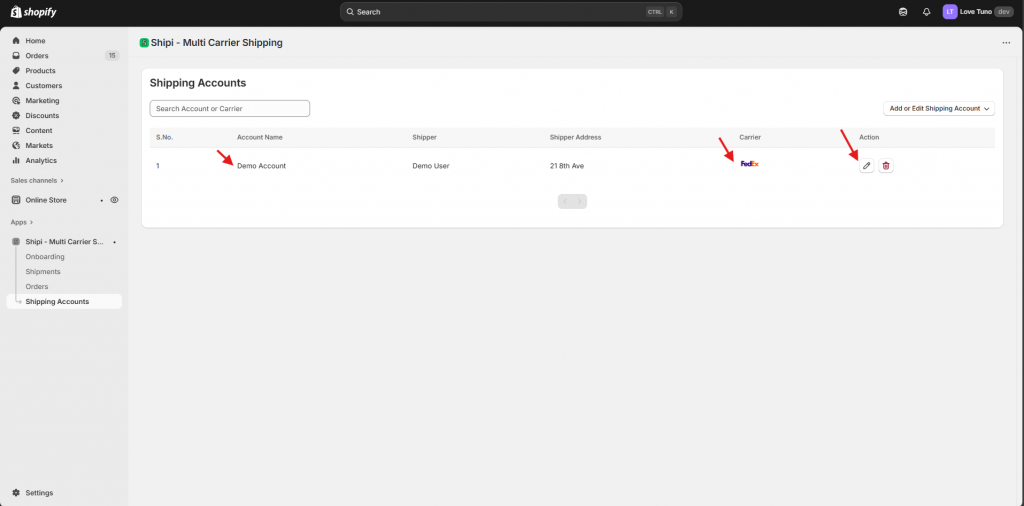
📦 3. Add Shipping Carrier Accounts
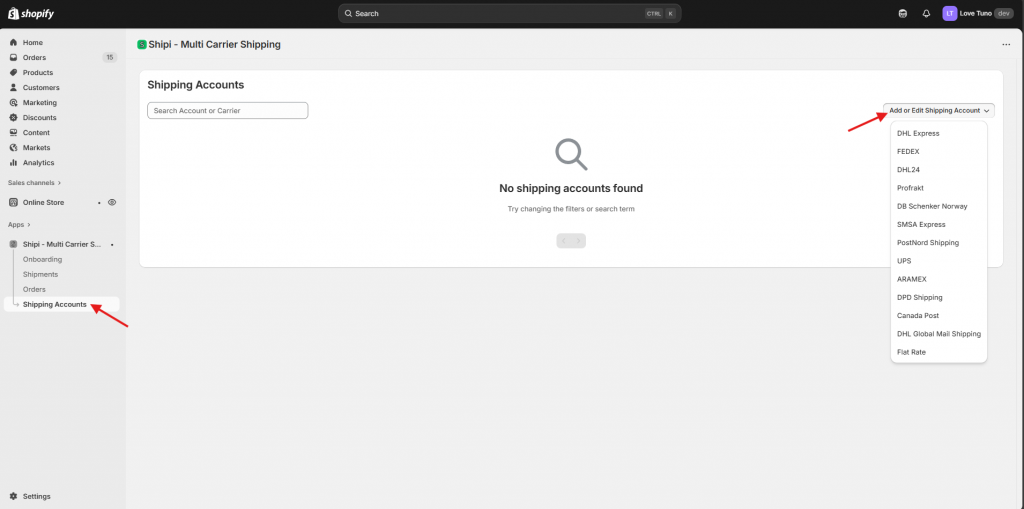
- After logging in, click Shipping Accounts Menu and click Add or Edit Shipping Account.
- Choose from 10+ carriers like FedEx, DHL, UPS, Aramex, etc.
- Enter the necessary API credentials and address information.
- Once added, the carriers will appear in your account list.
| Carrier | Configuration Link |
| DHL Expres | |
| FedEx |
🌍 4. Configure Shipi – Multi Carrier Shipping in Shipping Zones and Add Shipi as a Shipping Method
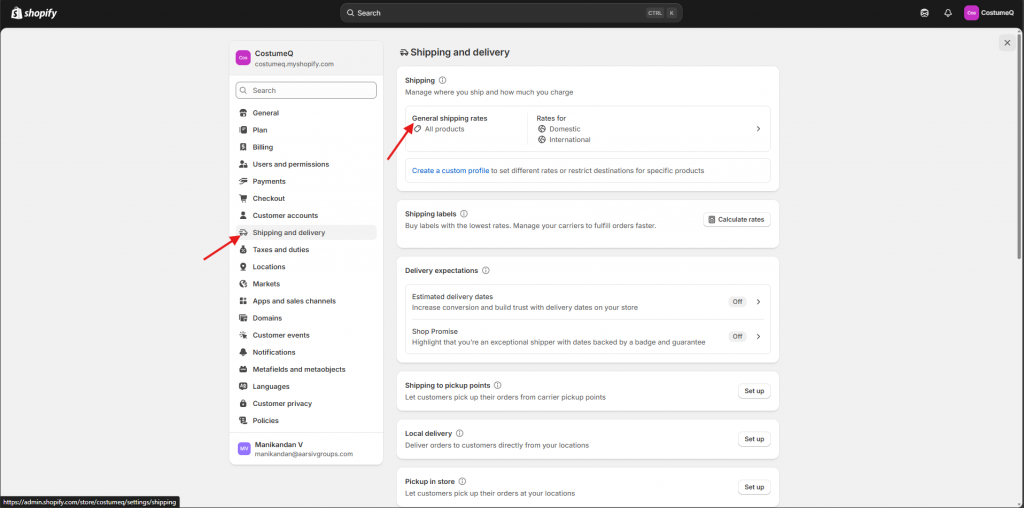
- Go to Shopify > Settings > Shipping and delivery.
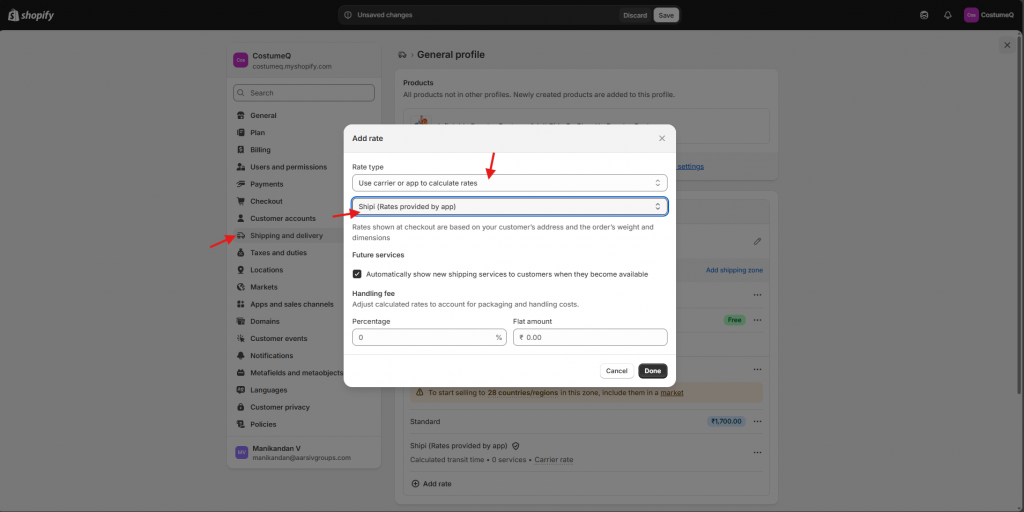
- Click “General shipping rates.” Under Fulfillment Location → Domestic or International, click “Add Rate.” A popup will appear — under Rate Type, select “Use carrier or app to calculate rates,” choose “Shipi (Rates provided by app),” and then click “Done.”
- Click Save Button.
🛒 5. After Successful Configuration, Real-Time Shipping Rates Display in the Cart
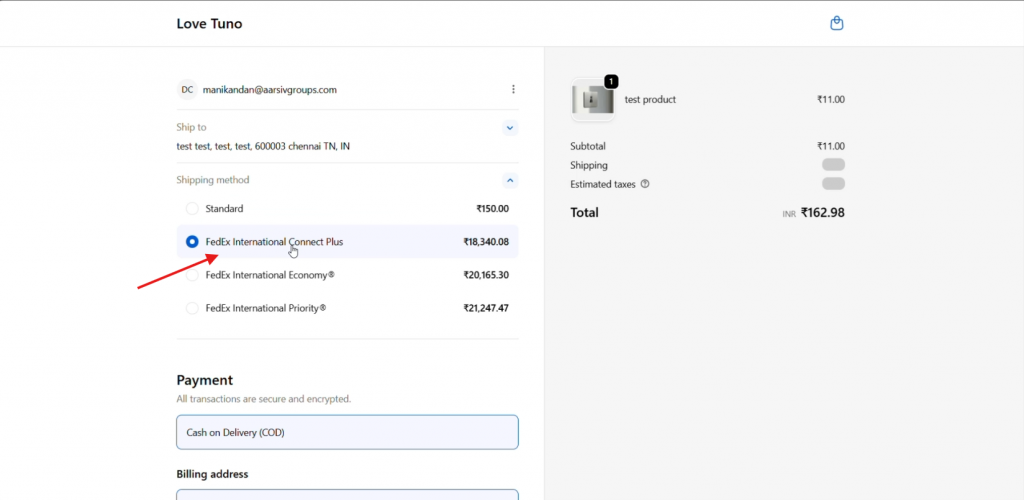
- Customers can now see shipping options like FedEx International Connect Plus during checkout.
- The shipping rates display here based on the configuration you did in the shipping account configuration page.
- Rates are shown based on Shipi configurations and product details.
📦 6. Generate Shipping Labels
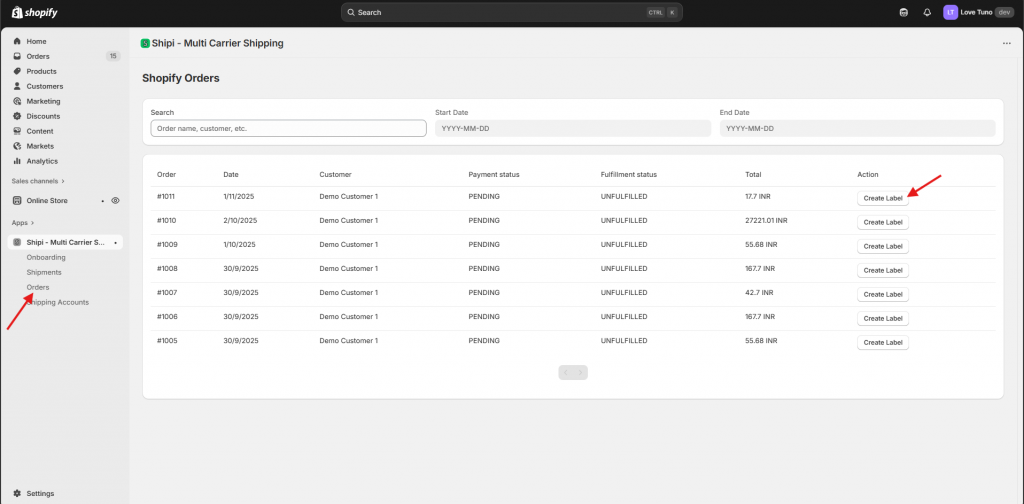
- Go to Apps > Shipi – Multi Carrier Shipping > Orders.
- All unfulfilled orders will be listed here.
- Click Create Label button.
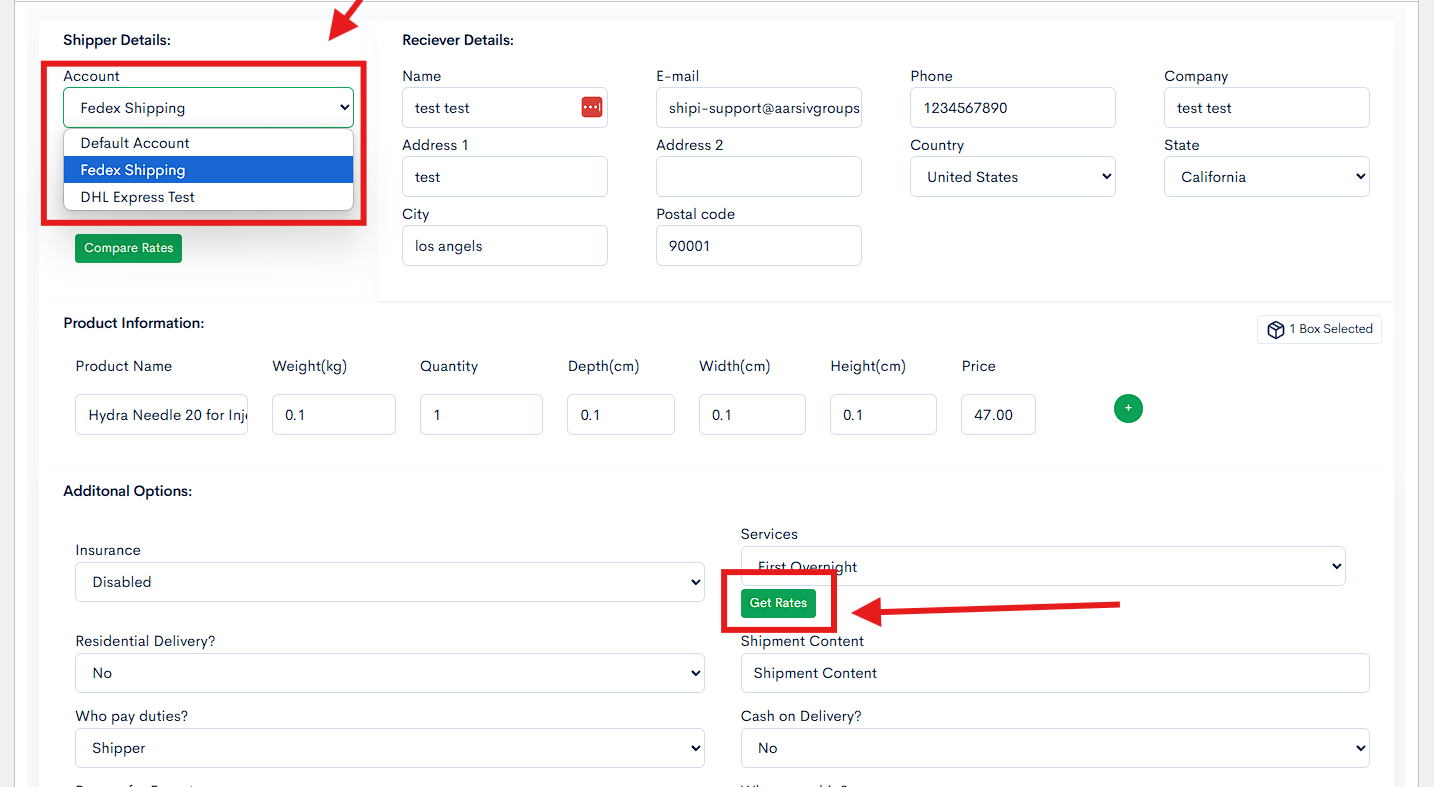
- Choose your shipping account and click Get Rates or Compare Rates.
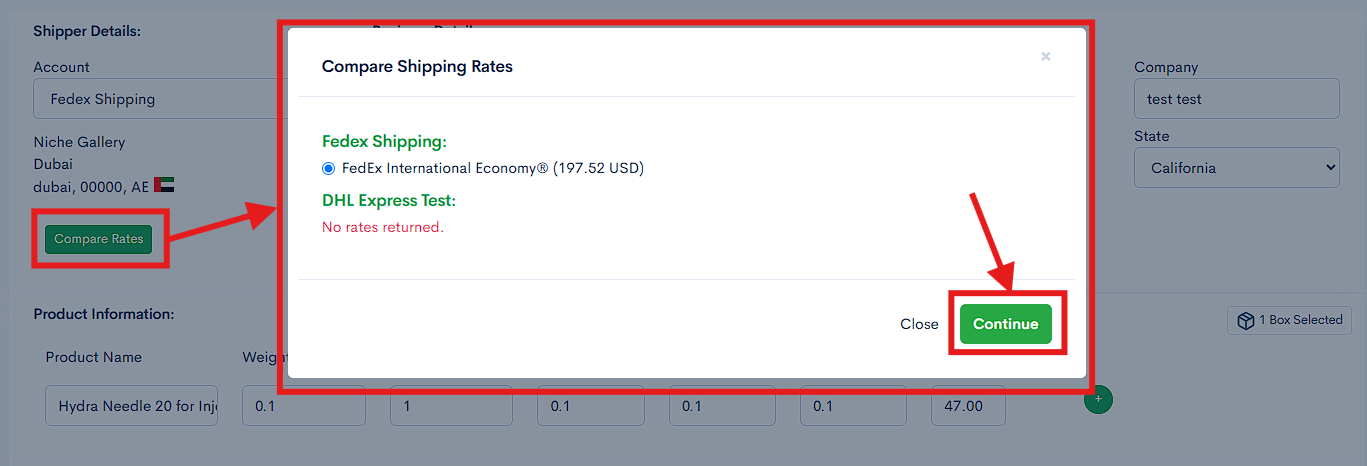
- Once the rate is selected, click Continue and click Create Shipping Label to generate the label.
🖨️ 7. Download Shipping Label, Invoice & Packing Slip
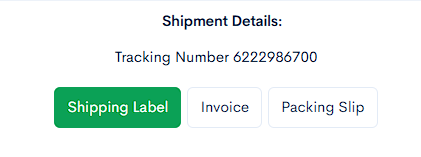
- After the label is generated, download:
- ✅ Shipping Label
- ✅ Invoice
- ✅ Packing Slip
These documents help in fulfilling and dispatching the order smoothly.
✅ Summary
With #Shipi, you can:
- Connect multiple carriers and different location.
- Generate real-time rates
- Print shipping labels instantly
- Handle multi-zone shipping
- Improve shipping efficiency for WooCommerce stores